Saturday, 25 April 2015

Racing Car Card

Here's another potential Fathers Day or birthday card for the petrolhead in your life.  Petrolhead of either sex I hasten to add.  You can personalize the card by using a local map and clay in the recipient's favorite color of the color of their car.  It also does not have read DAD of course.


Shopping List:
Basic card kit plus
White card blank 14cm x 18cm (5” x 7”)
Map
Polymer clay in red, black and white
Scraps of white card
Silver peel-off lettering
Computer program with Acklin font or similar
Foil tray


Instructions:


 1.Cover front of card with map.  Cut out eight exhaust shapes using the leftover white card.


2. Roll out polymer clay to a thickness of about 2mm and lay the relevent templates on top; cut around using a craft knife or clay tools.  Lay car body onto a foil tray and assemble.  Bake as to manufacturer’s instructions.


3. Choose a chunky masculine font like Acklin (available in Word) and print out the word Dad in letters about 4.5cm (1¾“) high and transfer to red card using a fine embossing tool.  Cut out and stick in bottom right hand corner of card.


4. Stick peeloff letters reading Happy in top left hand of card and glue car onto bottom left hand area.  Postion and stick down the exhaust shapes to look as if they are billowing across the card and write Birthday in black letters, one in each.


Wednesday, 22 April 2015

Make A Racket!

Or a racquet if you are into spelling.  With the warmer weather upon us it might be time to think of getting fit and playing a sport.  Or even if this is not for you maybe making a card for somebody keen on that sort of thing is more your bag. With Father's Day coming up I am going to be posting some ideas for men's cards and this is the first one.


These four cards (yes I can count but this is just the first one) were made using just basic craft materials like coloured card, metallic thread, polymer clay and peel-offs.  Add in a computer for more lettering and clipart options and you have everything you need to make some simple but effective cards. Most men don't like fussy cards after all, do they...

Shopping List:
Basic card kit plus:
White card blank 5½“
Lime card or paper to cover the front
Scraps of black, red and white card
Silver thread (eg Madeira Metallic No6 Silver)
Needle
Masking tape
Pricking mat and tool

General Instructions For All Cards:

Using a sheet of A4 white card cut blank to size.  For the 14cm² (5½“²) cards you will need to cut a shape 14cm x 28cm (5½“ x 11”) and score down the middle with a craft knife or bone folder to make the fold.  Don’t throw the rest away; you will need it for all the scraps of white card mentioned in the Shopping List. 

For the 14cm x 18cm (5” x 7”) cards you will need to cut a shape 28cm x 18cm (10” x 7”). 

To make the templates either print, scan and photocopy or trace the pattern pieces onto card. 


  1. Cover front of card with lime card.  Cut out a racquet from black card (not too thin) and cut out the centre.
   

2. Using a pricking mat and tool prick out all the holes.
 
  
 3. Thread up a needle with a length of the thread.  Find the bottom centre hole and count it as one; count six more and bring the thread up through the hole.  Attach at the back with a piece of masking tape.  Take the thread up and push the needle down into the corresponding hole in front, and then bring it up through the next hole and repeat.  Do this all the way along the racquet until you reach the same place on the opposite side.  Cut thread and secure.


4. Do this all the way along the racquet until you reach the same place on the opposite side.  Cut thread and secure.


5. Next you string along the horizontal lines.  Find the bottom centre hole again and count it as one; count three more and bring the thread up through the hole.  To string this way you need to weave the needle under and over the vertical threads, then down the opposite hole and up the next one.  Repeat going under and over different threads to resemble a real racquet.  If you need to attach new threads do so in the same way.


6. Stick the racquet to the card and cut out a circle 2cm (¾”) in white card; stick this in the bottom left area.  Attach peel-off letters to spell Having A Ball in the top right hand corner.

Or Happy Birthday or of course Happy Fathers Day.  Simple but effective and like all the best handmade cards requiring more effort than actual cash.


Friday, 17 April 2015

Bee Friendly

What is nicer than standing in a garden filled with flowers and the sound of buzzing bees?  Add in some other pollinating insects and a few butterflies and you are on the way to a well balanced eco system.  If your garden is filled with flowers but is strangely silent there is a simple reason.  You are growing the wrong plants!  There may be other factors but garden centers and catalogs are filled with brightly colored showy flowers which are no use for pollinating insects. Many have no pollen or fancy tight shapes (eg double flowers) that nothing can get inside.  This is particularly true of bumblebees, and without pollinators or "real" plants we run the risk of losing vital crops as we rely on these creatures to do this.  In the last fifty years the UK has lost 95% of its flower meadows but there are a lot of gardens, so it is up to garden owners to help out.  

Here is a list of the garden villains which do no good.  How many do you have?


. Begonia
. Busy Lizzie - Impatiens
. Geranium - Pelargonium
. Hydrangea
. Livingstone daisy - Mesembryanthemum
. Pansy
. Petunia
. Polyanthus
. Scarlet salvia / Salvia splendens 

Most of these have been bred to look impressive to humans and of course nobody wants their garden filled with weeds or insignificant "wild" plants.  However there are a lot of plants that look just as pretty but which will soon have the garden buzzing again.  Here are photos of four of them:


FEBRUARY: A crocus, nice and early and easy to obtain.  This will help bees when they are looking for nesting sites early in the year.

MARCH: A wild primrose, also early but most assuredly not a polyanthus!


APRIL: A beautiful, sweetly scented bluebell.  In April the bee's nest is growing and the young need plenty of food.  This is a plant that looks best in profusion and needs to be planted under trees but not in deep shade.
MAY: Foxgloves are a tall, stately flower that is very easy to grow and will help the bees as the year goes towards summer. 


Here is a list of a few more:


. Berberis
. Bluebell
. Broom
. Bugle
. Comfrey
. Crocus
. Dicentra
. Flowering currant
. Hellebore
. Lungwort
. Mahonia
. Muscari
. Pieris
. Pussy willow
. Rosemary
. Skimmia
. Viburnum
. Winter heather 

All early plants that are around as I write this.  Too late to plant them now, but when you are planning what to plant for next spring do spare a thought for the pollinators who make it possible for most things to grow.   

Of course, not all varieties of these plants attract anything other than people.  A good catalog, website or garden center ought to have some symbols that show if a plant is good for nature.  The yellow RHS "Perfect For Pollinators" is one to look out for.

Next time it is back to the crafts!


Saturday, 4 April 2015

Coloring Crazy!

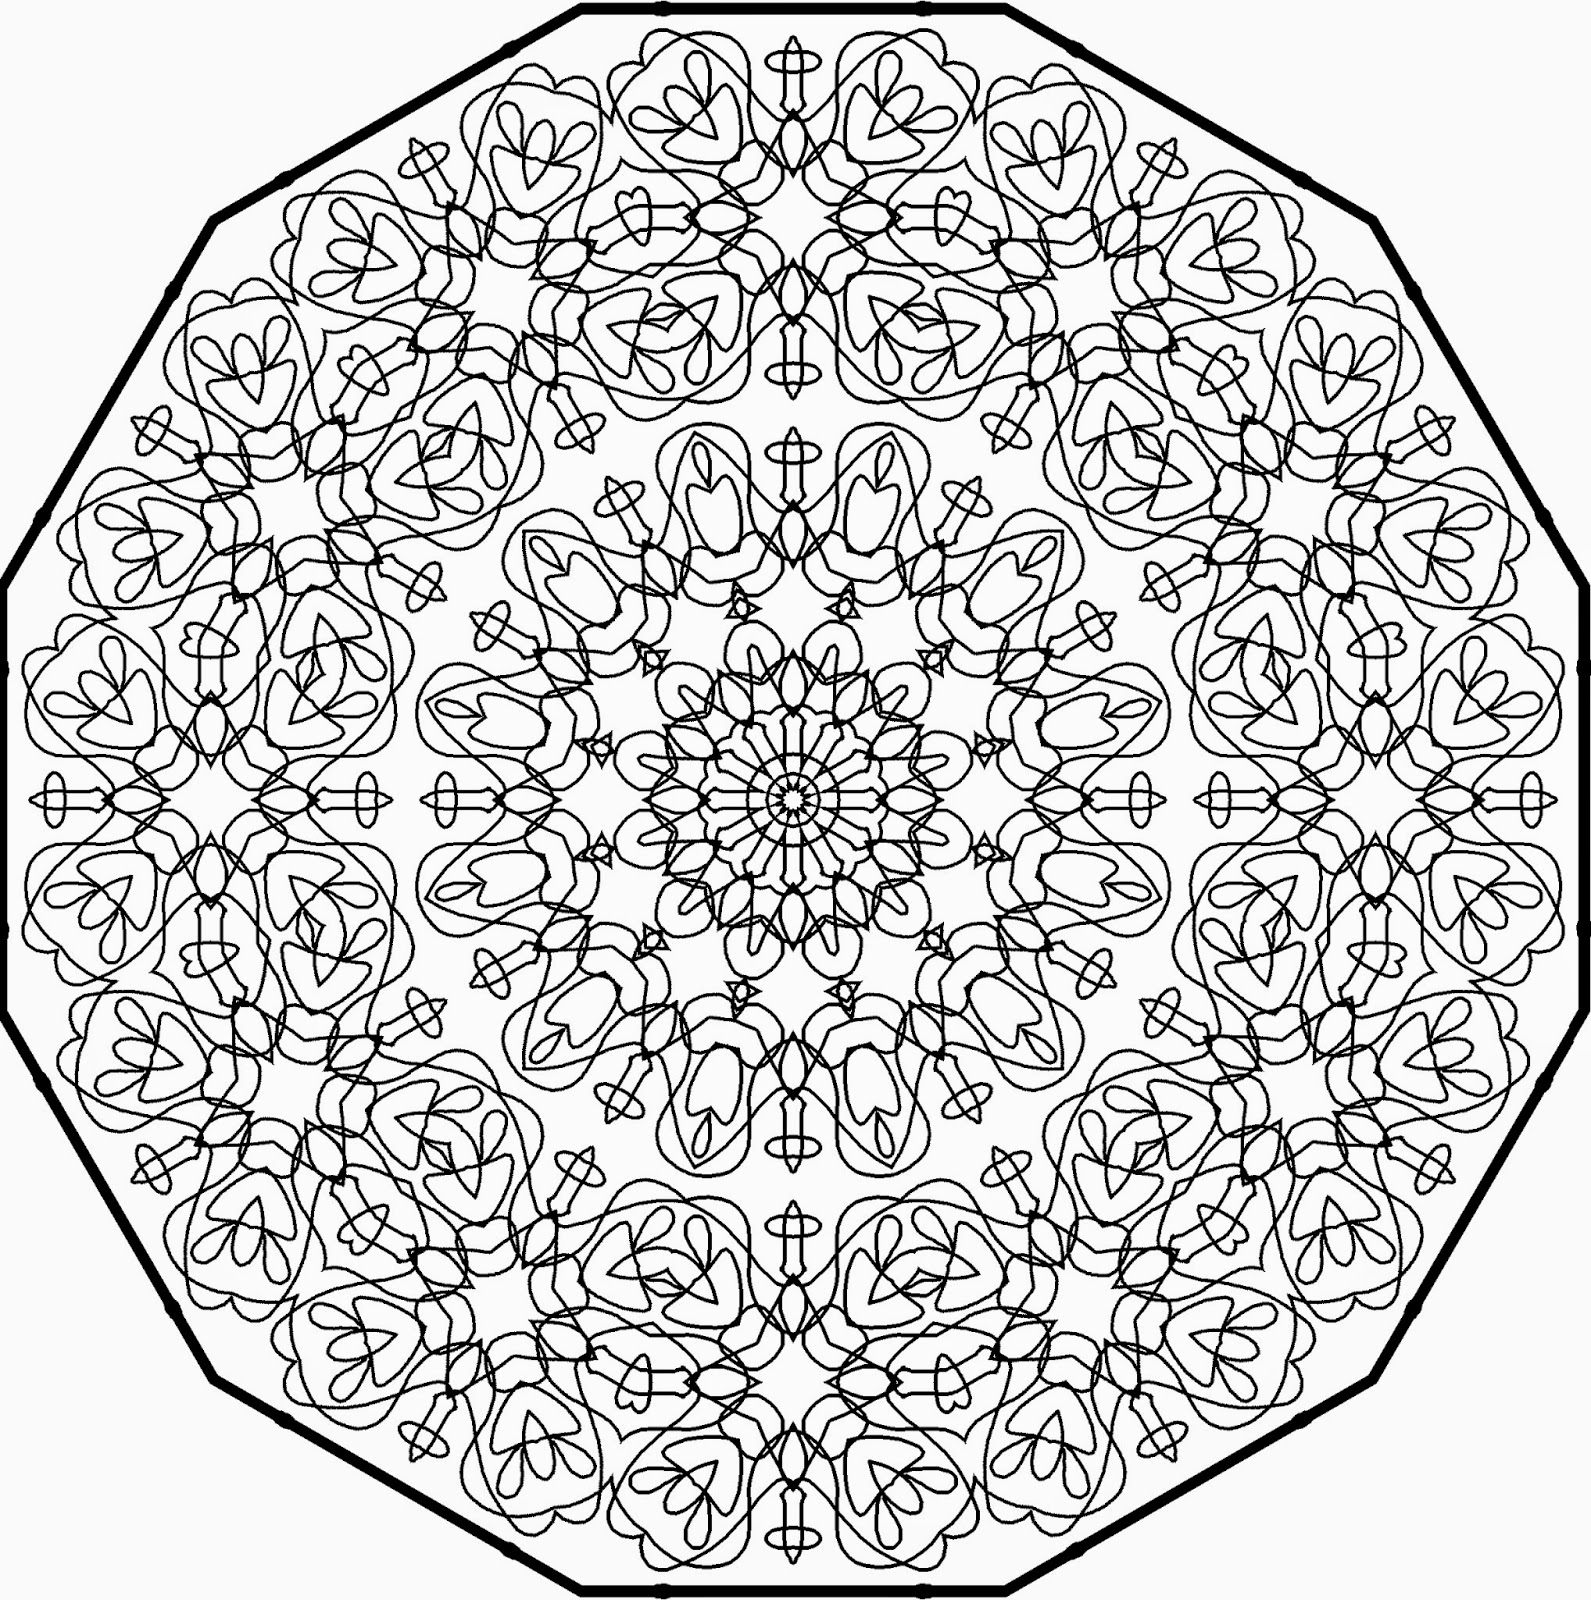
I do love to dive into whatever the latest craze is.  Line dancing, Scoubidou, loom bands, soutache...coloring books!  As a child I spent many a happy hour absorbed in a coloring book and as an adult missed that zen-like trance they put me into.  Nothing else quite hits the spot, does it?  Then I read that in France coloring books were outselling cookery books and when you think of the French and their passion for cuisine this meant this was one major craze.  Of course I had to get in on the act too and dug out every coloring tool I could locate (quite a lot but quantity rather than quality).  If you are like me and favor pens over pencils and don't have a lot of cash to splurge on the pricier brands you buy the budget packs in stores like W H Smith.  This means you require detailed pictures 'cos the pens run out so fast, and anyway these are ADULT coloring books not kiddy ones.  Here then are a trio of designs to print out and color in.  Let me know if you like them, and if you don't...
This is Mandala A.  Can you think of a more interesting title for it?  I hope so...
And this is Mandala B.  An all over design this time to keep it interesting.  I don't want them all to look the same...
Mandala C.  If you belong to a coloring group on Facebook do post your work so we can all see it.

But what do you do with a coloring book when the pages have all been filled in?  Use it as inspiration for another project perhaps.  Crafty Computer Paper has transfers you can iron on dark or light fabrics, fabric you can actually print on and all sorts of other things to do with ink and various crafts.  Of course you cannot break coopyright laws unless your picture is public domain but you can use it for inspiration or make your own in a graphics program as I have done with PSP.

Saturday, 6 April 2013

A Passion For Fashion

A passion for fashion, and for...recycling, and using up oddments that might otherwise get thrown away.  Remember Operation Pancake?  Here is a flat card with a summer appeal.

One set of items I wouldn't be without as a cardmaker and scrapbooker are my punches.  I didn't pay much for the smaller ones and they are great for using up oddments and making them look great with their crisp, professional edges and neat wee shapes.  These squares use two small flower ones, a six-petalled one and a many pointy petalled one, each measuring 10mm across.  You also need some bits of card or paper (preferably card) in colors that look well together, I have gone for a clashing but eye-catching orange, pink, white, black and another pink that truly does not look dusty gray in real life.


Here is the first square.  Cut a 3" square of orange card and stick a 2 1/2" square of white card on top.  Use this template to cut a pink handbag:
Stick it on top of the white card, and add some lines of purple and silver glitter.  Punch out flowers as shown, add glitter centers and top it off with a white feather.  I have a pair of herring gulls who live in my garden who supply me with these!

Let's make another:
Cut another square of orange card the same size, and then add the smaller square in pink.  Cut out two of these in white card:
Decorate as shown with silver glitter and punched flowers.  One more:
This one has a white base square (the black lines are just to show where the edges are) and a black smaller square.  Cut out one of these in orange:
and decorate by punching out siz-petalled flowers in one color and sticking the other flower shape on top in a different color.  Add a blob of silver glitter as a center, and stick all over the swimsuit cutting off at the edges to look like patterned fabric.  Add some more polka dots of silver glitter and your square is finished.

I've done squares, but you could use these to decorate ATCs or make them larger and put them on a memory album page.  You could also use oddments of patterned paper, fabric, felt or whatever you have at hand.  I decorated a waterfall card with them:
I have to admit that I love templates.  They are so versatile and easy to make from oddments of card.  Store them in plastic bags (I save the ones catalogs come in) and you have something for every occasion.


Wednesday, 21 November 2012

Make & Craft Issue 2 Now Out

Make & Craft magazine now has its second issue out - and you can see several of my projects on the cover.  Make a teacosy to keep your teapot hot this winter adorned with matryoshkas, and a matching egg cosy:
Here is a shot of the cosy, just before I took out the basting and attached the back.  It is a great use of those felt squares available everywhere, and also a good way of using up the leftovers.  It would make a good image for a greetings card too - pick the three smallest and instead of felt use lots of offcuts of paper and card in Christmassy colors.  You could even have them all holding presents!

You can also make some nice flat cards ready for mailing using embossing foil.  My project features three plus a matching tag, here is a picture of the church one being made:
It would look just as good in silver, or colored in with permanent marker pens.  Those outlines can be used for other things too - on fabric the lines could be picked out in metallic thread perhaps in chain stitch, or why not ice them onto a cake with a fine piping nozzle?

There is also a beaded bauble (I don't have a photo of that, you will just have to buy the magazine from here) On the first page inside you can see an advert for Mad Cow Beads and this features two more bauble covers, available to buy as kits from here.  Available in Blue Star or Red Holly, these fabulous bauble kits contain everything you need to make a beady decoration for your favourite bauble!


  • Includes a full bobbin of nymo D, a beading needle and all the beads and charms required.
  • Choose red and gold with holly charms, or a 'drapey' midnight sky design with star charms
  • Professionally written, full colour 'bead by bead'  instructions are downloadable - we send a llink with your kit
  • You need to buy a standard size bauble - 2 1/4" - 2 3/4" work well, although the pattern can easily be made bigger
  • these are suitable for beginners with some crafting experience, or beaders who want to try out seed beads! They are a little more challenging than our seed bead animals, but not too complicated.

You can also find instructions for a necklace to wear to all those Christmas parties (or just out for a nice lunch while shopping):
Plus a matching barrette for your pony tail:
A good reason for growing one if you don't already have one!  You could also clip it to the front of a bun, looks very effective.

Operation Pancake isn't forgotten either for as well as the embossed metal cards there are some patchwork ones.  These are just the thing for all you crafters who end up with lots of little bits of card, paper, fabric, ribbon whatever and wonder what to do with it all.  Make some patchwork cards that look like this:
This was cut up from an old flyer advertising a craft book, plus a few bits of white card left over from cutting some card blanks and a few peel off snowflakes plus a greeting.  It is all stitched on with some metallic thread so you need a sewing machine with a swing needle, but not a lot else.  There are two more, and if you wait a bit I will rustle up another one for you to make in a few days' time.

Plus it is gloriously, unashamedly FLAT AS A PANCAKE and at only 5 1/2" square it will easily slip through all the post office machinery at the lowest rate as long as you don't stuff a fat letter in with it.  Send an email instead...

Over to you.  Let's hear about what you have been up to, what you think of all this and anything else you can think of.


Sunday, 4 November 2012

Operation Pancake - What A Waste?

Remember Operation Pancake?  This is my drive this year to make some flat cards that will qualify as standard (not large) letters.  The "waste" in my title refers to sequin waste, a most useful and green product that used to be thrown away.  After all, this is just what is left over when you have punched out all the sequins isn't it?  Yes, but look at what you can do with it...
You can make cards with it, like this one.  Here's how:

First off you need a sheet of white card 10"x7".  Score down the middle to make a card blank 5"x7" and cover with green paper.  Cut two right angled triangles of gold paper with equal sides of 3½" and stick down.  Thin strips of red paper have been laid along the top to cover the join and add interest.  It's cheaper than a peel off and looks nice and bright.

The glittery swirly background on the green paper was made with three colors (gold, green and red) of glitter glue swirled around and left to dry for a night.  I buy the big squeezy bottles of it from Anita's (DoCrafts) that come in eighteen colors.  This is the cheapest way to buy glitter glue, unless you know better.

Then you need this bell template, cut from a scrap of card: 
You now need some standard holed (usually about 5mm in the UK) sequin waste in red and gold.  I laid my bell onto the sequin waste and drew around it with a chinagraph pencil, but laying it underneath and making sure it does not move would also work.  You have to make sure that you end up with something made from only whole holes, which looks like this:
The purple line is the template, the green line is where you actually CUT.  Next, measure the hole diameter in your sequin waste.  Choose two papers that go with the gold/green/red theme and cut a few strips.  Here now is a weaving diagram, because these strips are not for quilling but for weaving in and out of the holes:
 This is a weaving diagram for the RED bell.  Here is the other one:

This one uses the GOLD sequin waste.  I hope you can see where you weave the papers, up one and down another in most cases.  When you get to the edge don't cut off the papers or they will fall out.  Instead, bend them over on the wrong side for about ½" and then cut.  Glue the bells down as shown using a suitable glue.

Here is the holly leaf template for the corner sprays.  The berries are red sequins, so you are not just using the waste.  Cut four green leaves and two gold ones, and use three sequins each corner.

Voila, you have a nice flat card.  It looks as though some time has been spent on it too so you ought to avoid the sort of comments you get if you have just stuck down a topper, added a bow and a greeting.  This usually runs something like "well, you can't have had much fun making this can you, why don't you buy some charity cards instead next time?"

I hate it when people say that!  Instead I buy other things from charities and make the cards...of course, you could always make these cards for charity as there is no copyright on them. Then you would have the best of both worlds!